

Your Off-Grid Mesh Buildout
An off-grid mesh network buildout doesn't have to start large. A homestead or rural property can be covered with three or four well-placed nodes, one observer, and a broker you own.
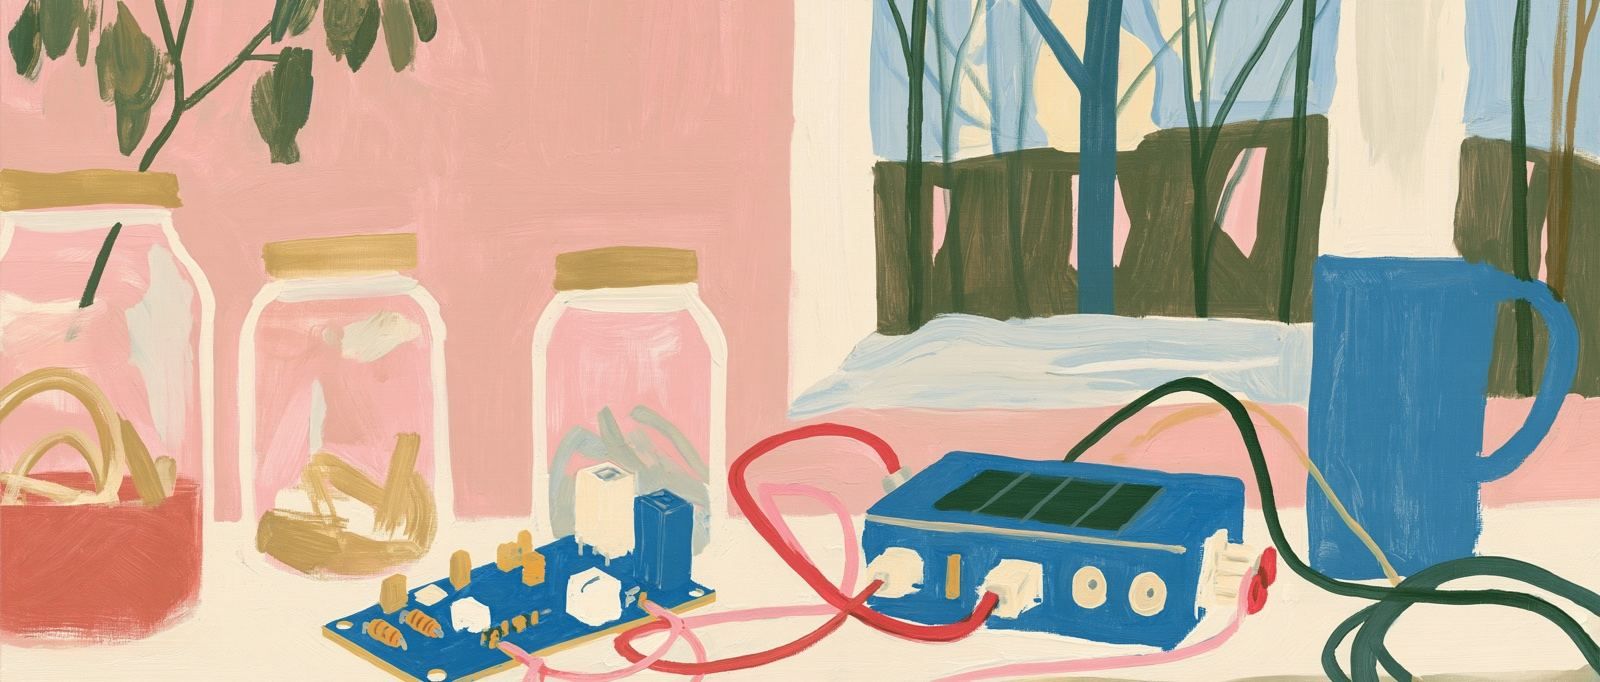
The node arrived in the mail on a Tuesday in October. By Thursday it was blinking on the workbench, talking to a second node across the yard. That’s the part that gets you — the first working link. Two pieces of hardware on different sides of a property, exchanging packets over radio without a router in the picture.
What comes next is the part this post is about: turning that first link into a network you actually own, that covers the places you need it to cover, and that you can see clearly without depending on anyone else’s infrastructure.
TLDR: A practical off-grid mesh network buildout starts with two to four nodes, not twenty. One observer at your main location reports to a broker you control. Every packet that crosses the network stays on your infrastructure — from the radio to the MQTT broker to the Waev Live Map — without touching a cloud you didn’t choose.
Start with two nodes and a real link
The first decision in any off-grid mesh network buildout is where to put node one and node two. Before you think about the full property, think about the most important link: the pair of locations that most need to communicate, or the two points that will form the backbone of everything else.
For most homesteads, that’s the main house and one outbuilding — workshop, barn, or studio. Get those two talking cleanly before you add anything else. A 2-hop path between them, with SNR well above 0 dB, gives you a reference to test against as the network grows.
The nodes themselves don’t need much. A MeshCore-compatible LoRa board draws little enough power that a small solar panel — even a modest one — can run a node indefinitely if the battery is sized for overnight and cloudy days. Exact sizing depends on your hardware and climate, but the power budget is genuinely small: this is IoT-class electronics, not a phone charger.
A few things that matter more than people expect:
- Height. LoRa at 915 MHz (or 868 MHz in Europe) behaves roughly line-of-sight at the distances typical of a homestead. A node on the roof of an outbuilding hears more than one sitting on a shelf inside.
- Antenna orientation. Most LoRa antennas are omnidirectional in the horizontal plane and perform best when mounted vertically. Tilting a node on its side costs you real range.
- Metal enclosures. RF doesn’t pass through steel well. A node inside a metal equipment shed will behave poorly. An external weatherproof enclosure on the outside wall is worth the extra step.
Adding the repeater node
Once your first backbone link is stable, the next question is reach. Most homesteads have at least one location that the main-house-to-barn link can’t serve directly — a lower field, a cabin farther out, a gate at the property edge.
That’s where a repeater node earns its place. In MeshCore, a repeater is a node whose job is to relay packets — it hears traffic and rebroadcasts it, extending the reach of the network beyond what a direct link can cover. You don’t need one on every node; you need one (or two, on larger properties) in the locations where traffic needs to cross a gap.
The best site for a repeater is high ground, if you have it. A node on a ridge or a roofline that can hear both the backbone link and the outlying nodes creates a bridge that would otherwise require a much longer point-to-point path. This is the same logic that governs where you’d put a VHF repeater for voice communications — the physics don’t change because the frequency is lower.
The observer: the node that feeds Waev
Not every node needs to report to MQTT. Most nodes in a MeshCore mesh just route packets. The observer is the specific node — usually one, occasionally two or three for a larger property — that also sends what it hears to your MQTT broker so Waev can see it.
In practical terms, this means the observer needs two things a plain repeater doesn’t: internet connectivity (Wi-Fi, Ethernet, or cellular modem) and observer firmware or a bridge setup. Once it has those, every packet it hears — from every node it can reach, directly or through repeaters — flows to your broker, and Waev subscribes to that broker to draw the Live Map and populate the Live Packets feed.
One well-placed observer, typically at the main house or whichever site has the most reliable internet connection, is enough for most homestead buildouts. If your property is large enough that a single observer can’t hear all your repeaters, you’ll want a second one. But one is the right place to start.
The broker: what you own
The MQTT broker is the part of this stack that you own completely. Mosquitto on a Raspberry Pi or a small VPS — or any other standard MQTT server — is all you need. Your observer sends to it; Waev subscribes to it read-only. If you stop using Waev, the broker keeps running and the data stays yours. If your internet connection goes down, the mesh keeps routing packets — it just doesn’t update Waev until the connection comes back.
This architecture is deliberate. Waev’s bring-your-own-broker model means the data never leaves infrastructure you control. You hold the keys, and what goes onto the map is what your observer actually heard — not an estimate, not a guess, not topology inferred from node names. Evidence-based topology means the Live Map shows you only what can be verified from your enrolled observer.
What to expect from your first week
The first week after a buildout looks roughly like this: you will find that two of your links work well, one is marginal, and one node you placed optimistically in a shed can’t hear anything. That’s normal. The network tells you where the gaps are.
Live Packets shows you when packets from each node are actually arriving at your observer. If a node goes quiet, you know either the node is down or the path to your observer is broken. Network Stats shows you the pattern over time — which links are reliable and which are inconsistent.
The first buildout is as much a survey as a deployment. You’re finding out what your terrain actually allows, not what you hoped it would allow. That information is worth more than an extra node — and it tells you exactly where the next node should go.
Frequently asked
- What is an off-grid mesh network buildout?
- An off-grid mesh network buildout is the process of planning and placing a set of MeshCore nodes — repeaters, an observer, and one or more companion nodes — across a rural property or homestead so they can communicate without relying on cellular or internet infrastructure.
- How many nodes do I need to cover a small homestead?
- Three to four nodes can cover most small properties: one observer at the main house, one repeater at a workshop or outbuilding, one node at a barn or far corner, and optionally a repeater on high ground. Start with two and add nodes when you find a gap — don't overbuild upfront.
- Do the nodes need to be connected to the internet?
- Mesh nodes communicate with each other over LoRa radio and do not need an internet connection to relay packets. Your observer node does need internet access — via Wi-Fi, Ethernet, or a cellular modem — to push data to your MQTT broker, which is what Waev subscribes to.
- What happens to my mesh data if I run my own broker?
- When you run your own MQTT broker, you own the data. Waev connects to your broker as a read-only subscriber — it can see the packets your observer reports, but it cannot write to your broker or delete anything. If you stop using Waev, your data stays on your broker and you have full control over it.
- Can I run the MQTT broker on the same site as the observer?
- Yes. A small single-board computer running Mosquitto on the same local network as your observer works well for an off-grid setup. You can also run the broker on a small VPS if you want remote access to your Waev dashboard from anywhere, and point the observer's Wi-Fi uplink there.